How to use Comak to generate digital diagrams
Step 1:
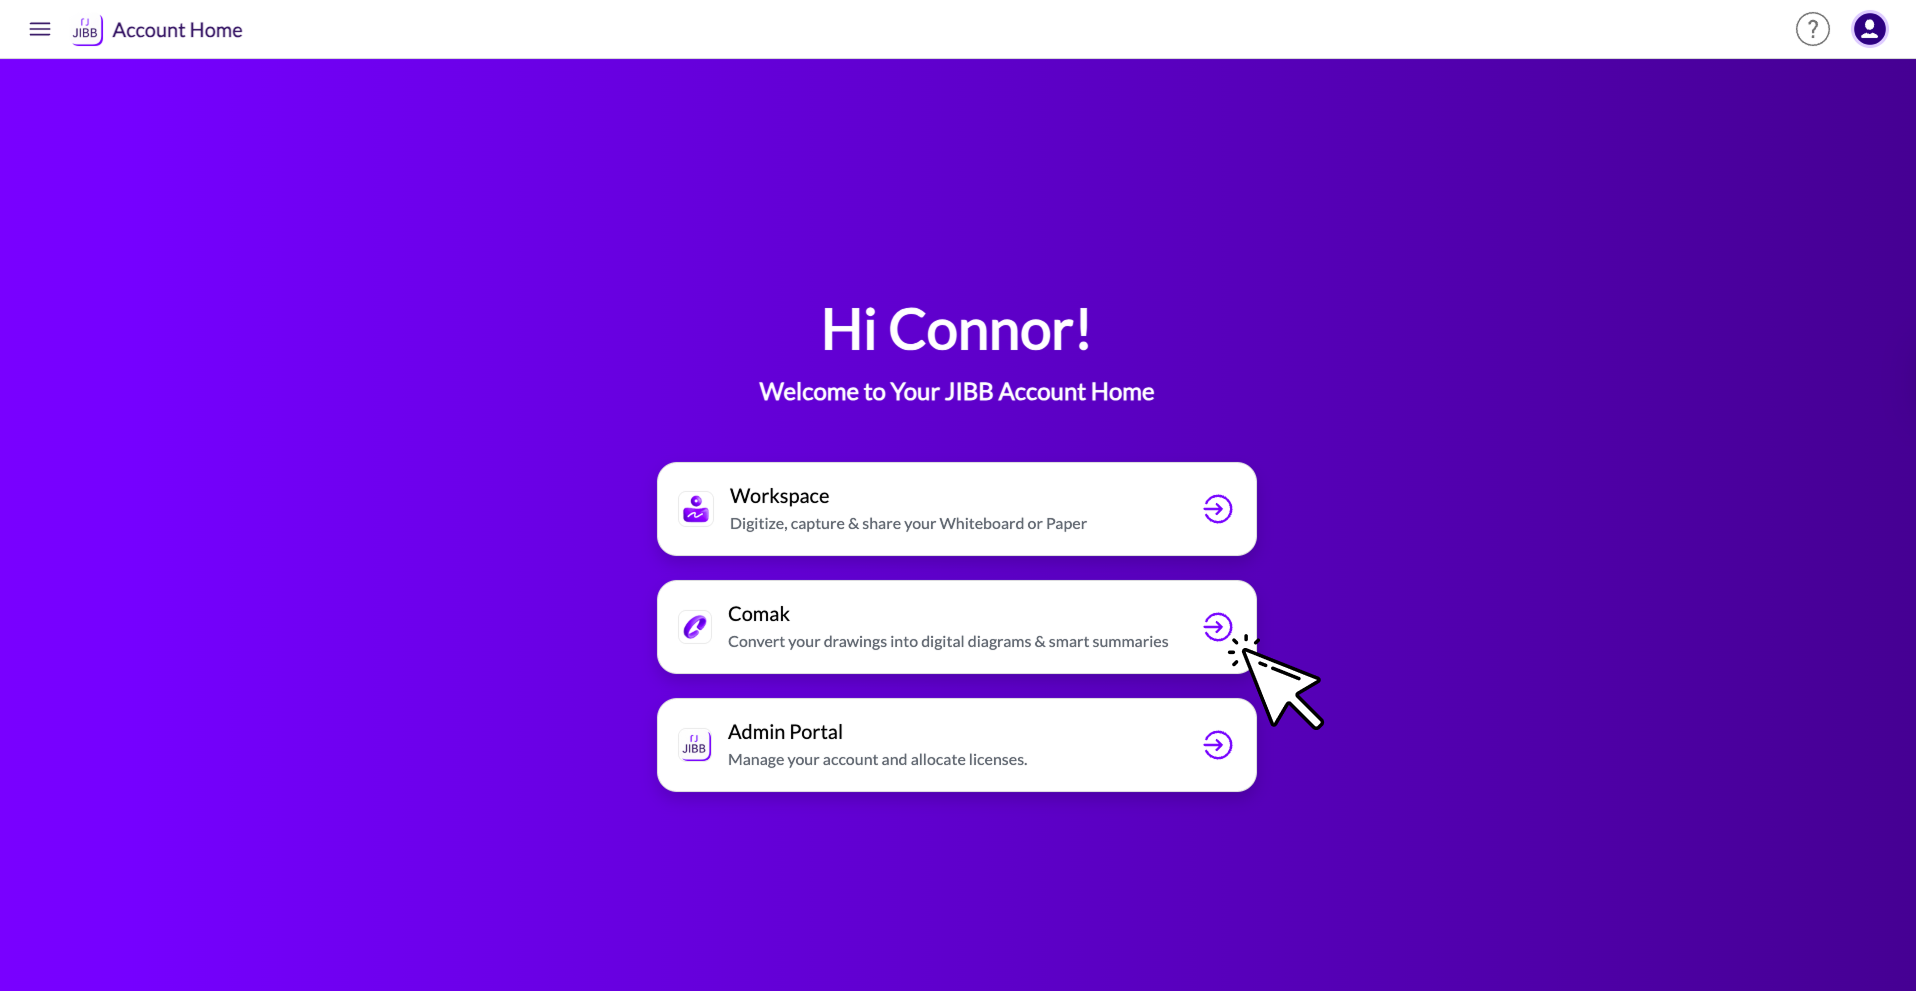
The Account Home
When you sign in to your JIBB account (via app.jibb .ai), you will be navigated to your account home. Here you can select Comak to start converting your content.
Step 2:
Connect to Lucidchart ( Optional)
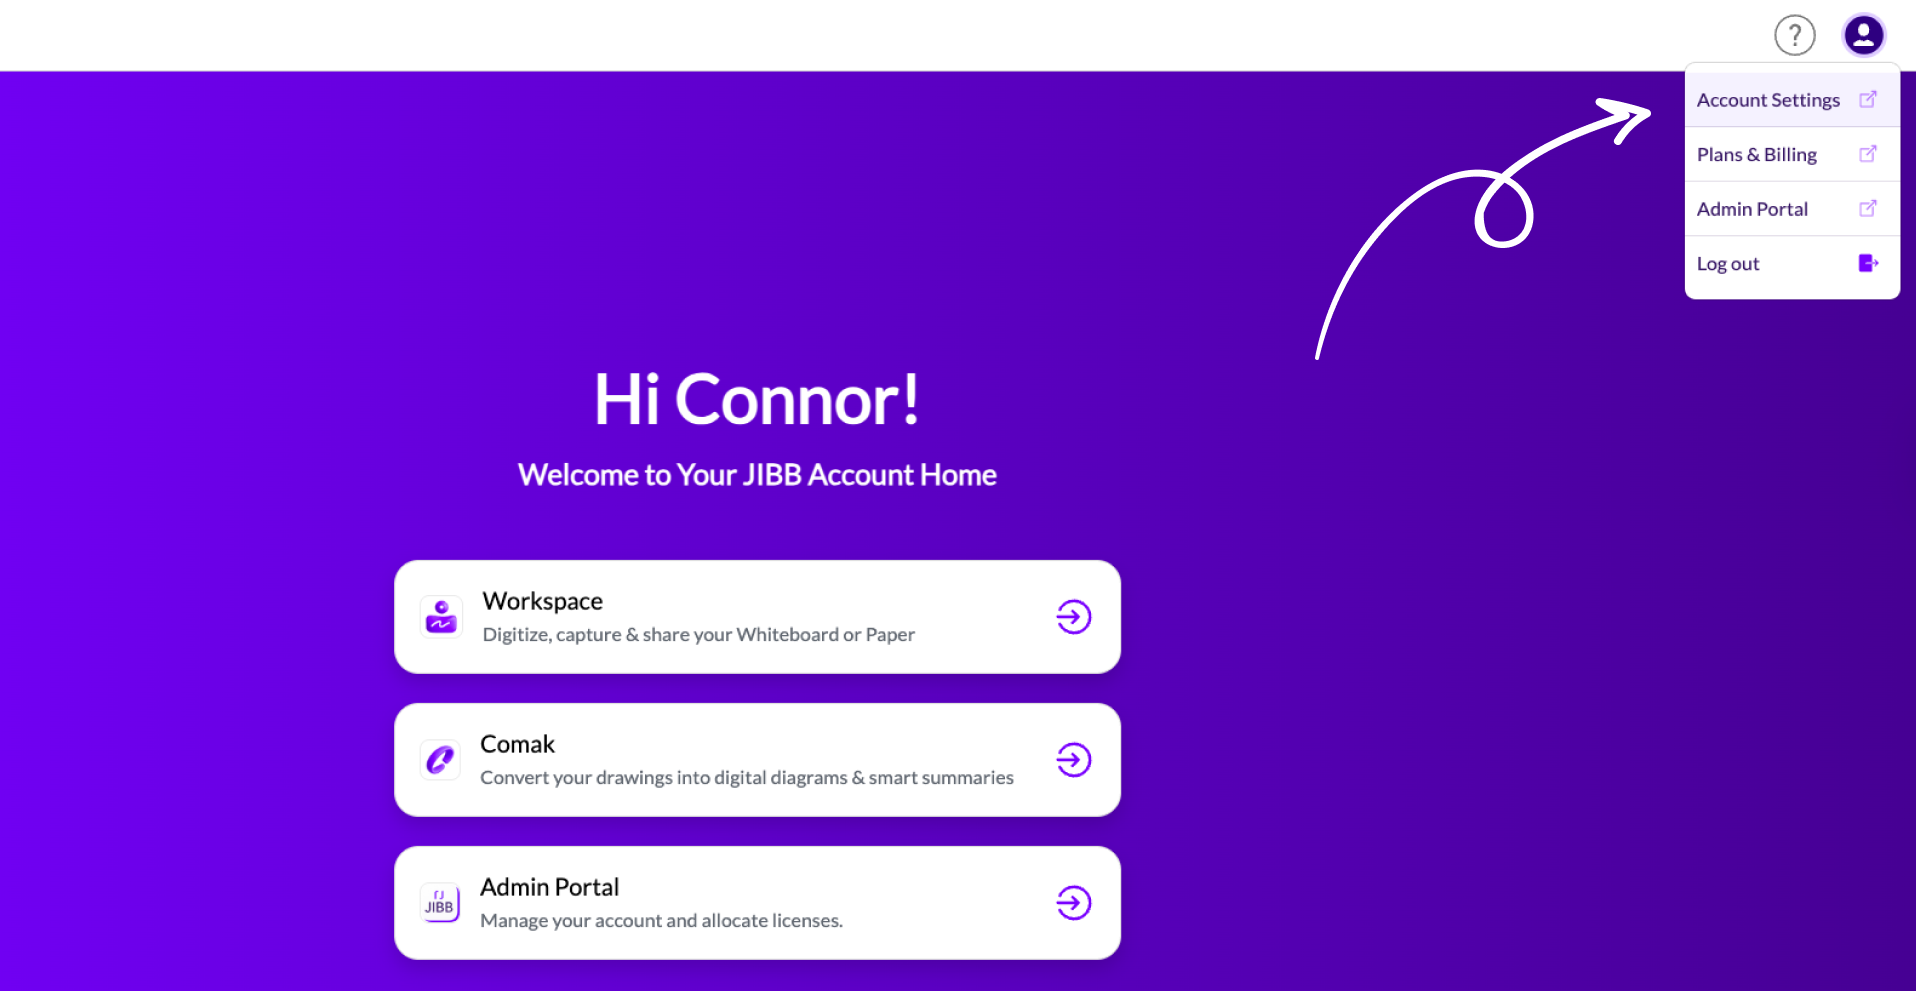
Navigate to the user icon in the top right corner and select “Account Settings”. You can also do this option once you are in Comak by clicking on “Account Settings”.
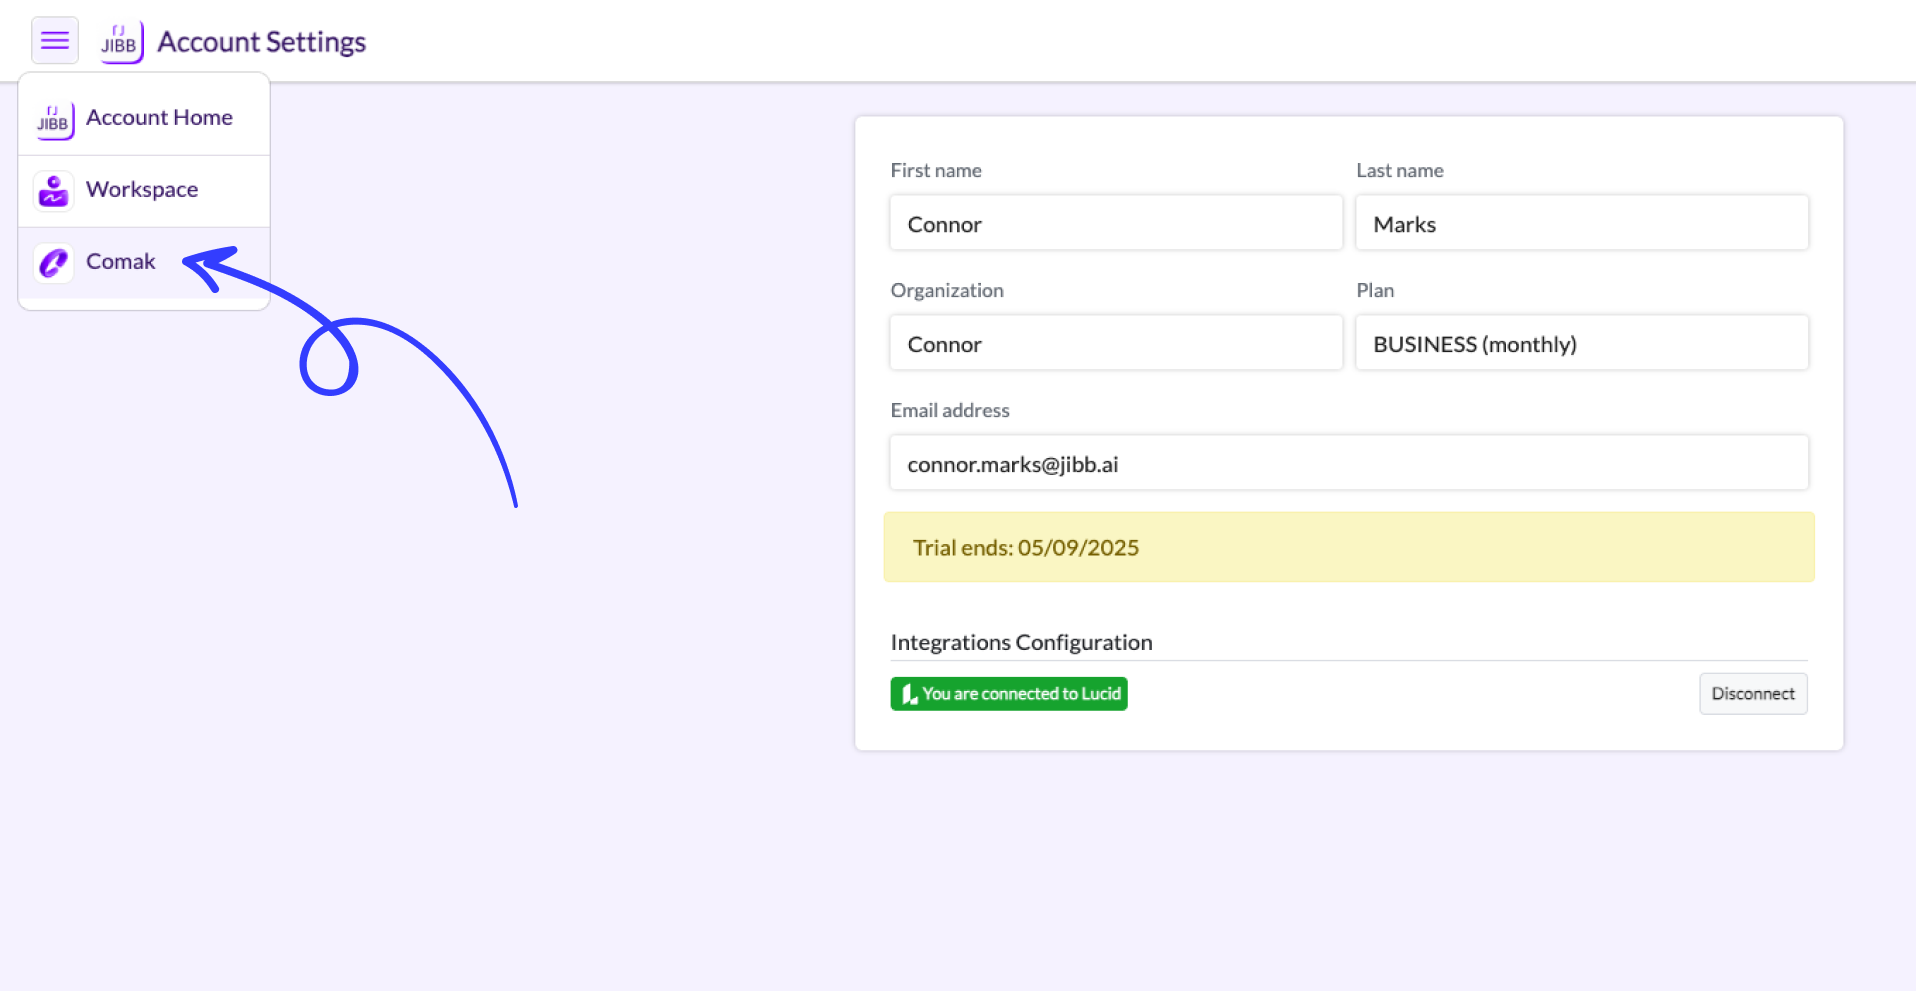
Navigate to Integrations Configurations and click “Connect”.
Now that you’re connected to Lucidchart, navigate to the panel in the top left and select “Comak”.
Pro Tip:
Make Sure you are already logged into Lucid before completing this step. Check that you are connecting to the right account and select “Grant Access”.


Step 3:
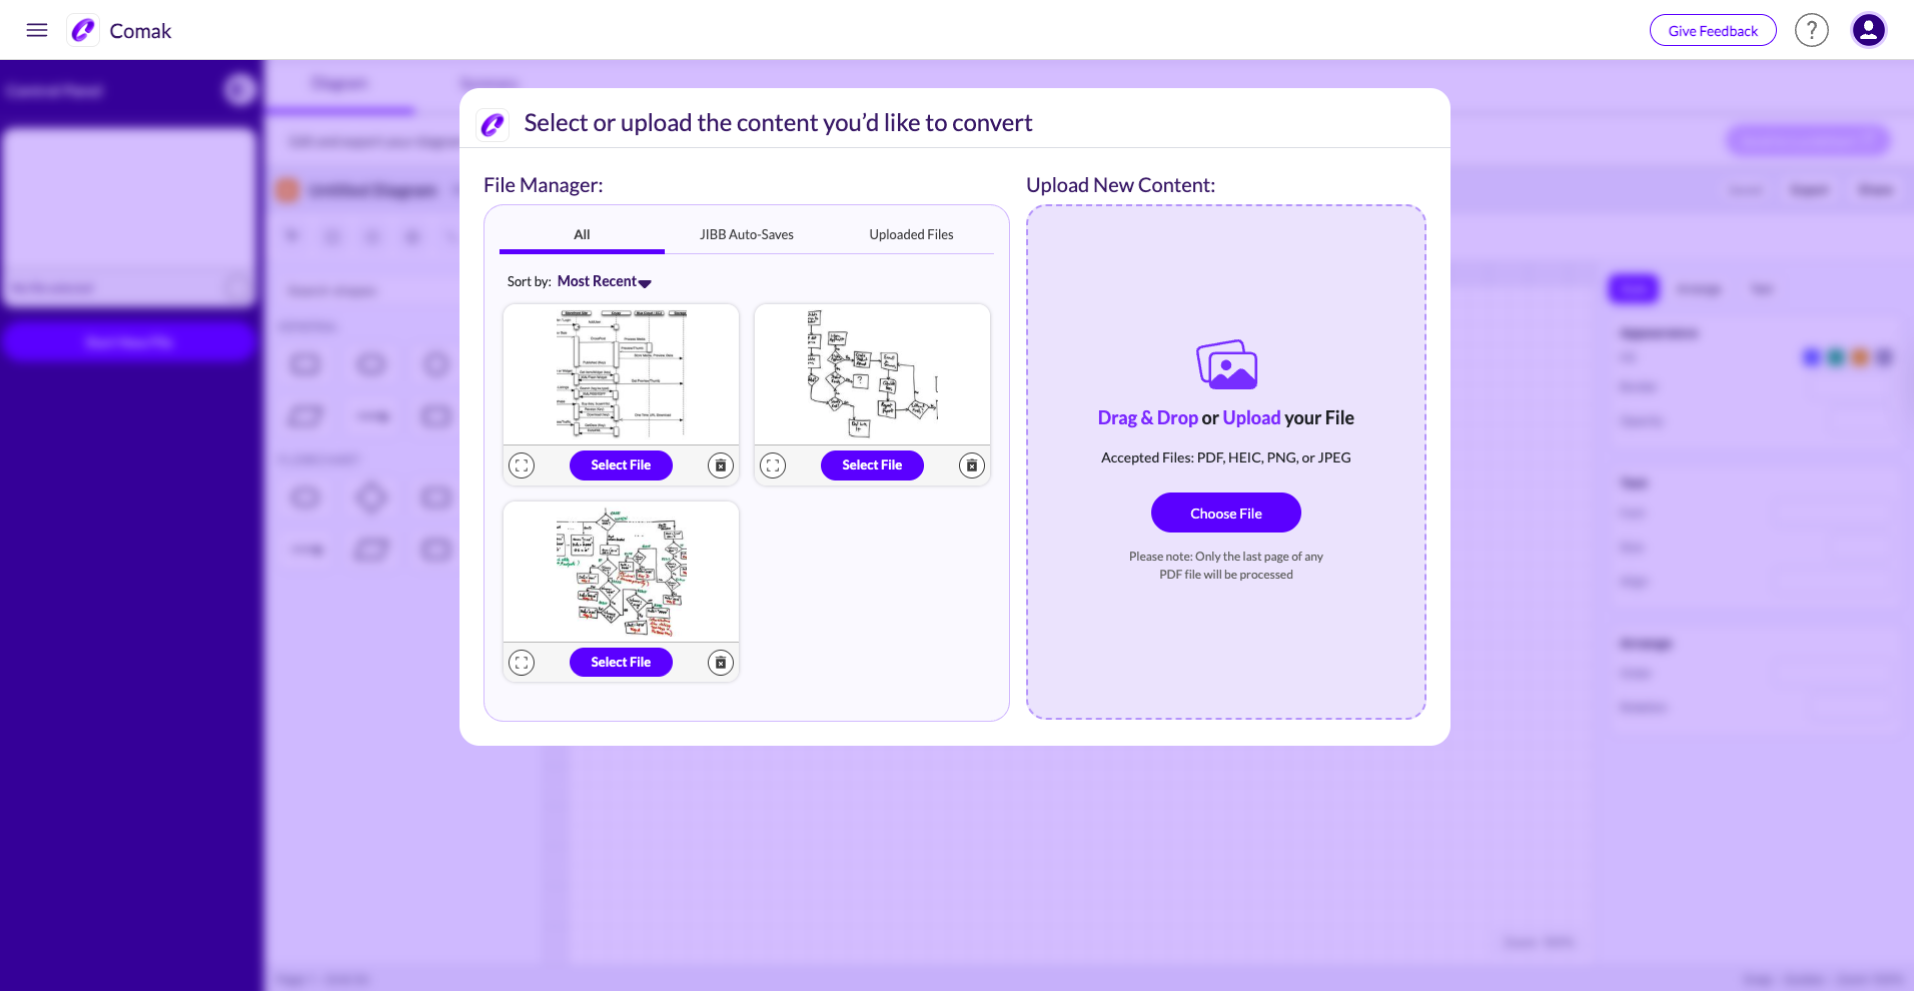
Choose your file to convert
When you enter Comak from the account home, start by choosing a file. You can choose from the following options.
- Drag & drop or upload your file.
- Select a previously uploaded file.
- Select a Workspace Auto-Save PDF.
Step 4:
Generate your Diagram
After you choose your file, Comak will analyze your upload. Once the file is accepted, you will need to click ‘Generate Diagram’ in the Diagram window (Generation may take 2-3 minutes depending on complexity).


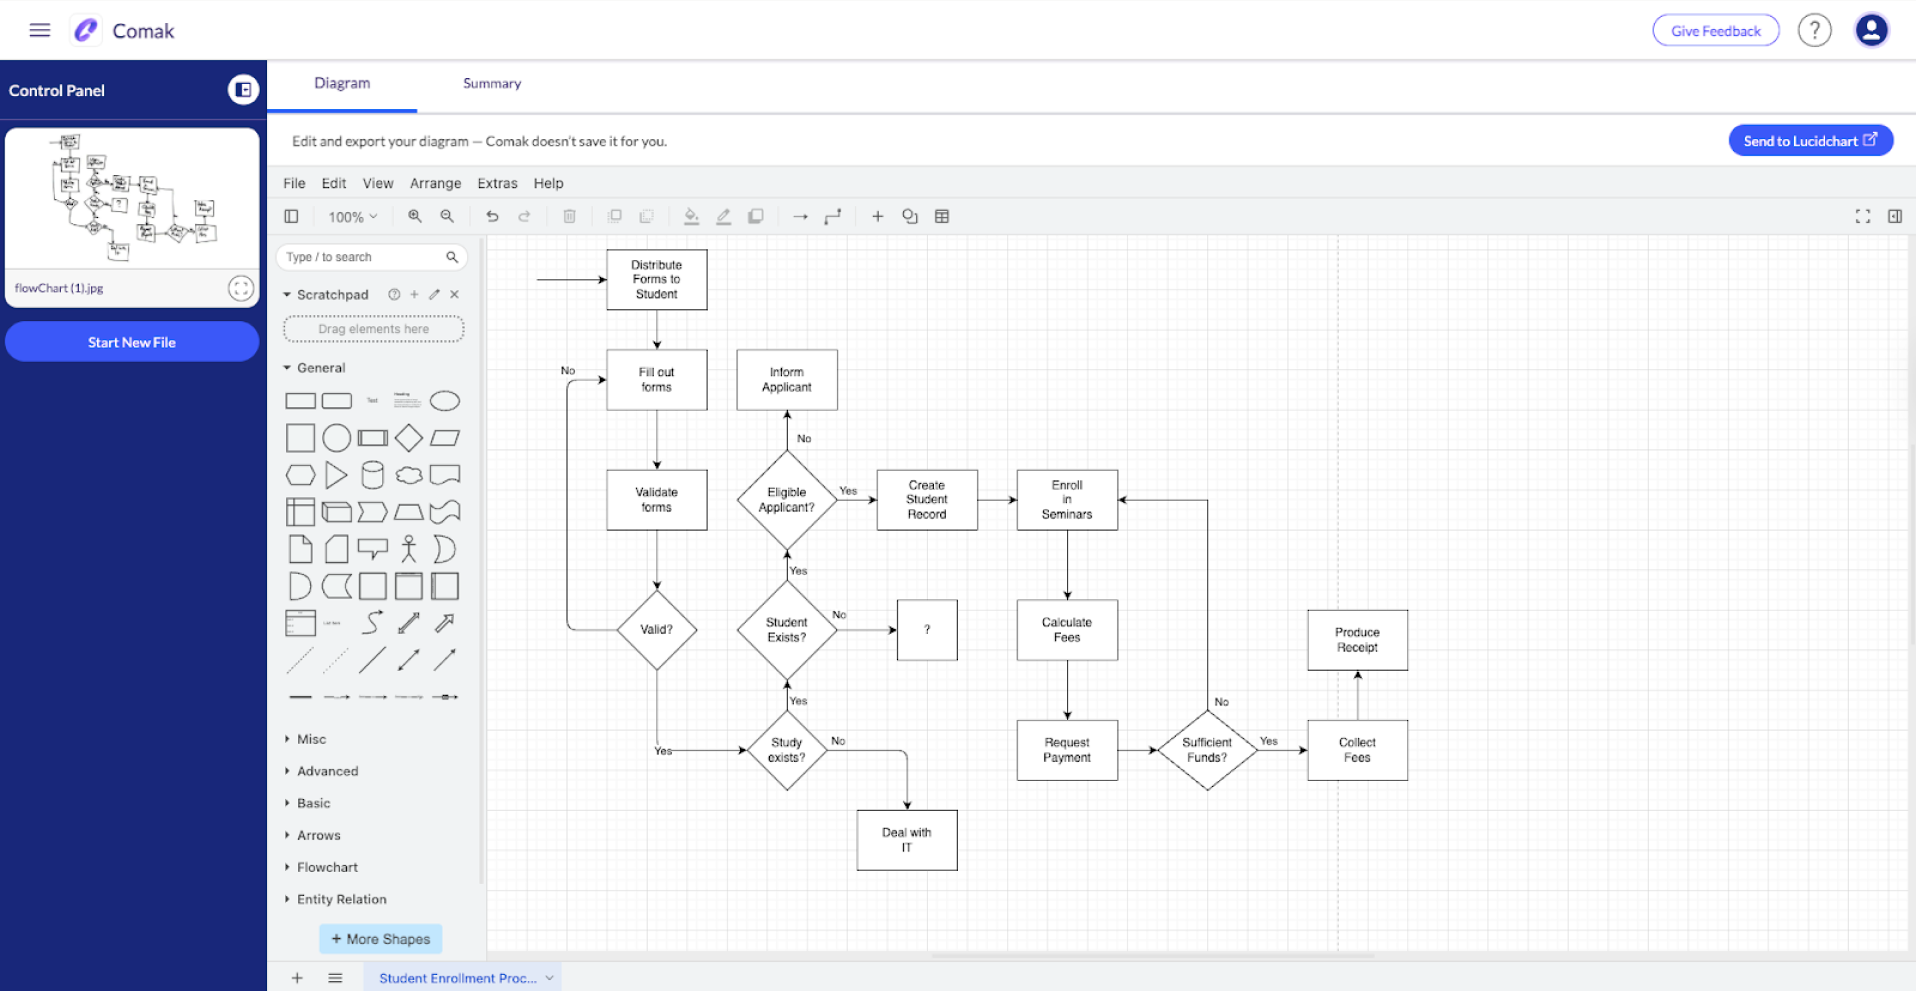
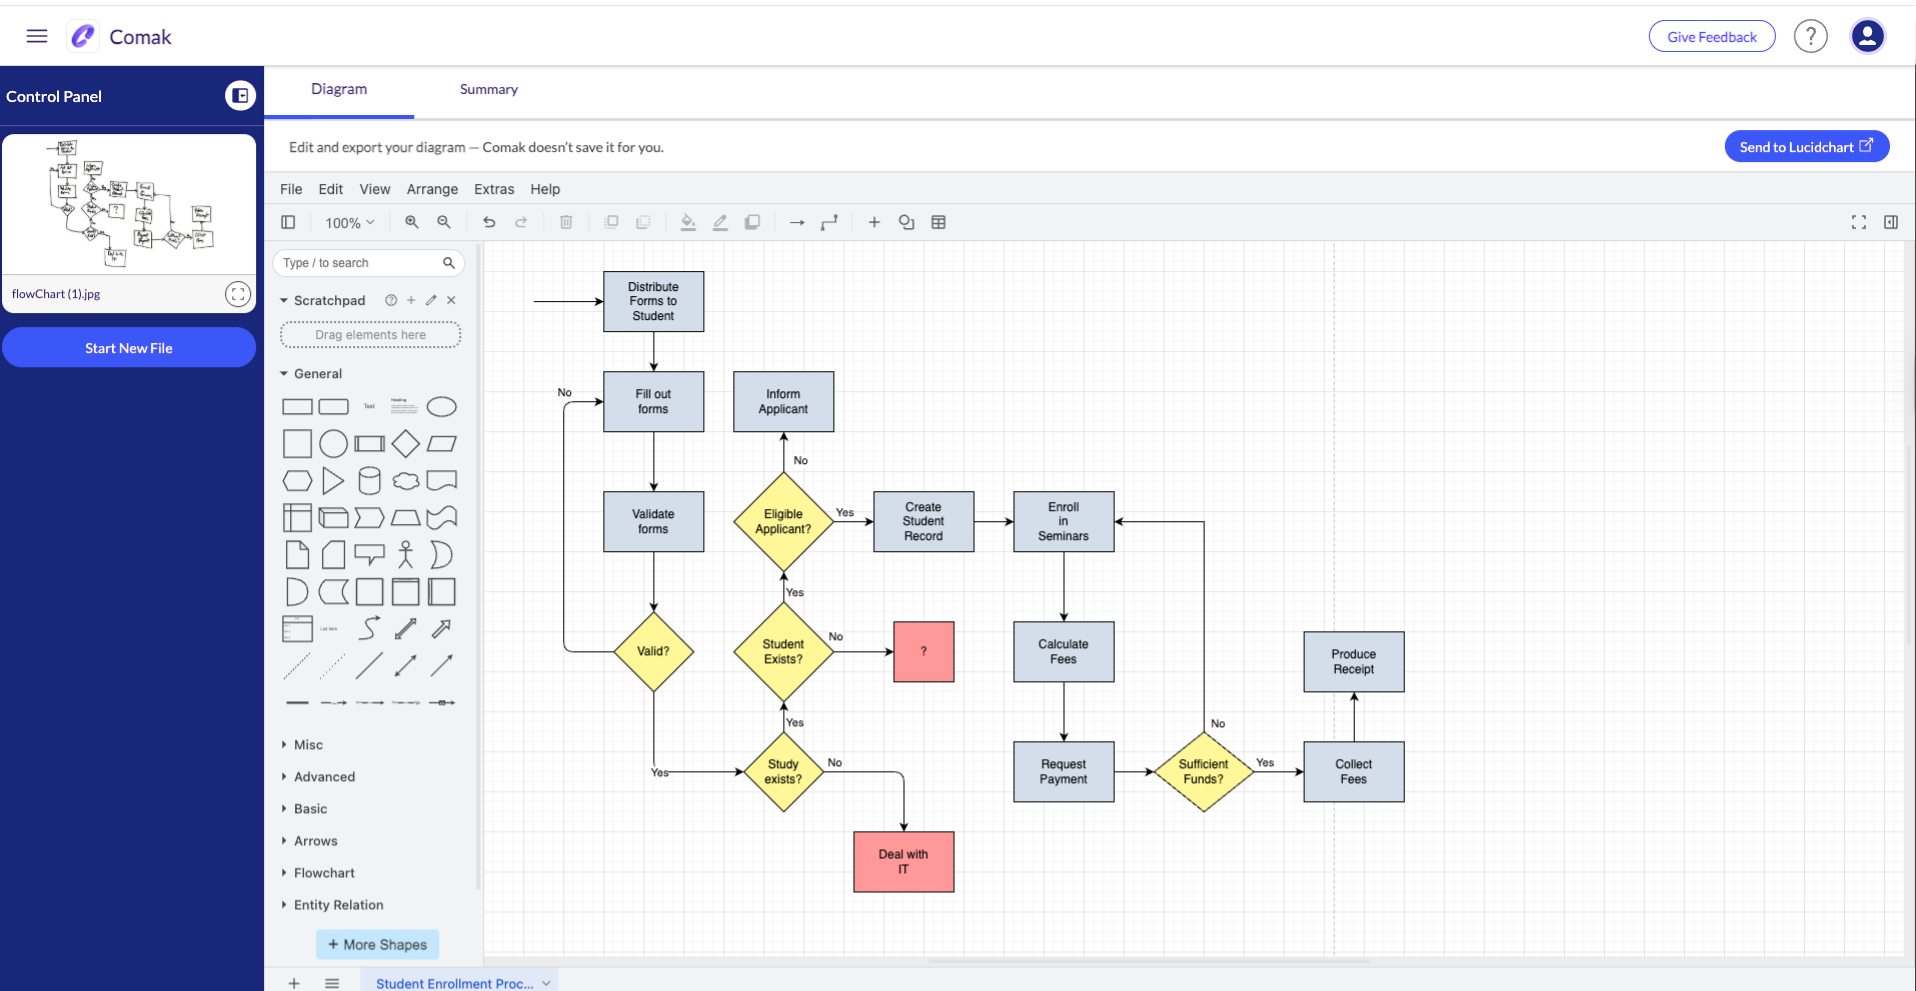
Step 5:
Edit & Polish your Diagram
Once your Diagram has been generated, you can use the editor tools to fix any mistakes and polish your diagram.
Pro Tip:
You can expand the selected file to quickly compare and make the changes needed.

Step 6:
Send your Diagram to Lucidchart (Optional)
Click on “Send to Lucidchart” on the top right of the editor, then choose the folder and click “Send to Lucidchart”.
Comak automatically opens LucidChart, and you can now continue working on your diagram in LucidChart.


More Pro Tips:
Use dark markers on light surfaces for the best results. Avoid glare or reflections
Use a document camera or take a photo from directly above your paper.
You can also upload Auto-Save PDFs from JIBB Workspace or JIBB Room if you’re using those tools too.
Need extra help?
This version of Comak is still in early access and we are continuing to add features and optimize performance, but if you hit a snag or have suggestions, we'd love to hear from you.
